Mario Kart Double Dash modding for fun and trolling
Published: October 2019
This summer we prepared a small challenge for some friends that got married. The challenge is part of some old spanish tradition that consists in over-engineering wedding presents so that the lucky couple must fight for their present in the most crazy ways: from using one cent coins, doing origami on small bank notes (some fake!), to wrapping presents using a hundred layers for some extra wedding-night fun. Just take a look yourself.
So the idea was to, as part of the challenge, hide a secret code in a racing videogame, given that the groom is a karts-geek. The code is later used to partially unlock a box secured with a couple of padlocks. The candidate was the Game Cube version of Mario Kart since using the original N64 one would have been probably very difficult and using a more modern version would not be as cool (plus it would be harder to play also, you'd need a hacked console or a powerful computer to emulate it, so GC seems like the perfect candidate). I also thought of modding the emulator so that I could do this without hacking the ROM, but that's too platform dependant and let's face it, not nearly as cool.
Looking around the internet I found some useful tools right away:
- GCReEx: A tool to extract files from the ISO game and repack them back too.
- arcExtract/arcPack: Tools that extract and repack MK specific files for GC. See this pagefor more information.
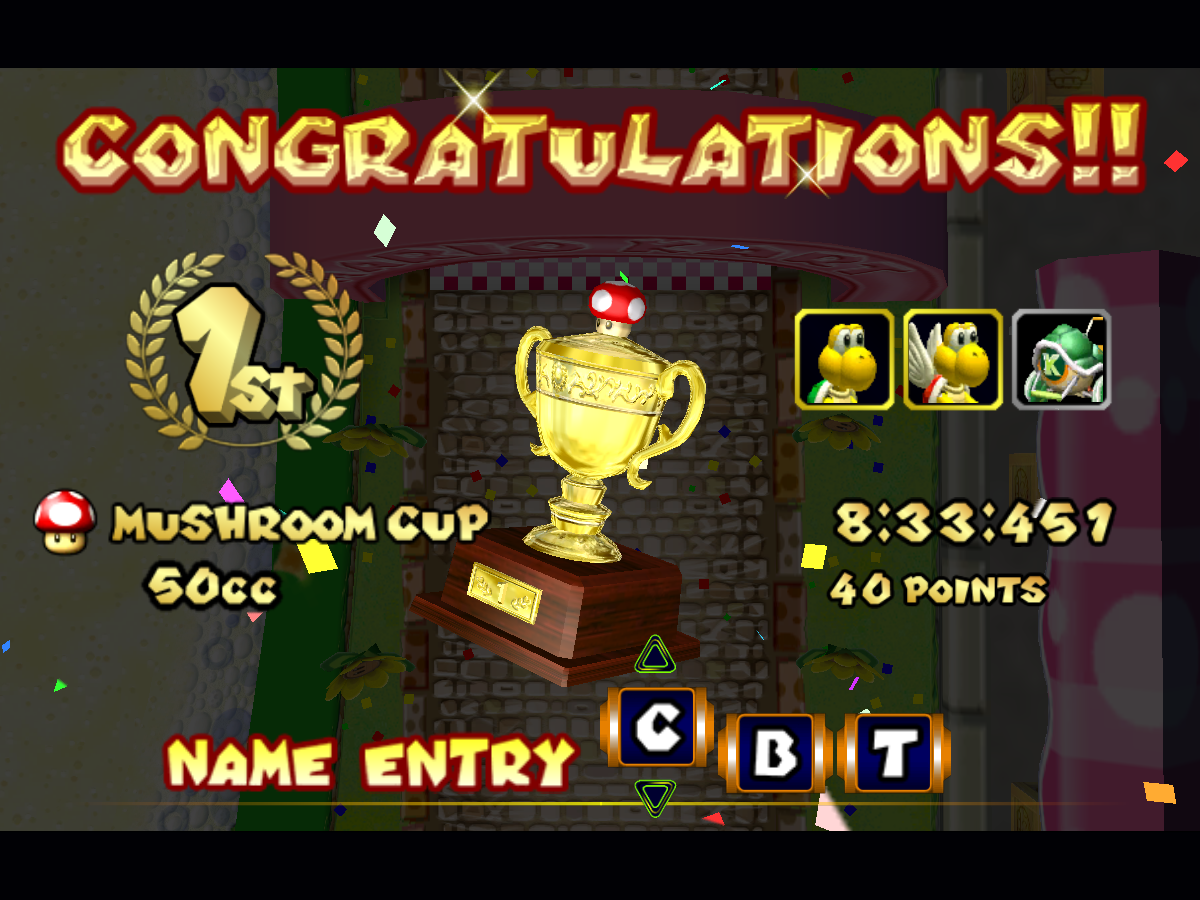
With these tools I could extract the ISO, and find some promising looking names such as GM4E01/root/AwardData/English/Award2D.arc. This file contains some data related to the Award screen, which is a texture in BTI format. If we try to open it with GIMP using raw format (won't look great tho) we can see the text of the "Congratulations" screen:

The text can be changed into something cool that contains the code we want to ship, since this screen only seems to come up once the user wins a Cup, which will be part of the challenge. According to the BTI file format wiki the file is a rather simple uncompressed texture format. Parsing the header we see that Image format is 0x2, which means IA4 format is used. That means each byte represents an intensity value (0 to 15) and a transparency value (0 to 15) encoded in each nibble. It also shows that it uses transparency (obviously) and that the dimensions are 560 (0x0230) by 64 (0x0040) pixels. Note that everything is big-endian due to PowerPC being the HW used in the GC and the Wii. Other less interesting fields in the header indicate that the image is a single image (no mipmaps) and that should be interpolated linearly, no biggie.
Now in order to change the image what I did was:
- Create a grayscale image with GIMP that I saved as PNG.
- Run a small script that outputs the BTI file from the PNG file.
- Repack the file with the arcPack.exe
- Repack the ISO with GCReEx, it was smaller that originally due to unused space.
And it worked! Well after like 3 attempts :) If you note the wiki mentions that for IA4 format the block size is 32 bytes, resulting in 8x4 pixels per block. That's because the texture format doesn't store the image per-row as PNG or other formats such as BMP do, instead it outputs blocks. I didn't read that at first, and it took me a couple of attempts to get it right. I ended up writting a decoder to test my encoder, using the game original images to test the decoder :P
The python packer is here for inspection:
from PIL import Image

im = Image.open("image.png")

# Pack color and alpha.
# R,G,B,A -> A>>4 || ((R+G+B)/3) >> 4

out = []
for color in list(im.getdata()):
    lum = int((color[0] + color[1] + color[2])/3)
    out.append((color[3] & 0xF0) | (lum >> 4))

# Now repack the image by blocks
out2 = []
for r in range(0, 64, 4):
    for c in range(0, 560, 8):
        block = []
        for r2 in range(4):
            for c2 in range(8):
                block.append(out[(r+r2) * 560 + c+c2])
        out2 += block

header = [2, 2, 2, 0x30, 0, 0x40, 0, 0, 0, 0, 0, 0, 0, 0, 0, 0, 0, 0, 0, 0, 1, 1, 0, 0, 1, 0, 0, 0, 0, 0, 0, 0x20]
out = bytes(header + out2)
open("output.bti", "wb").write(out)
And it worked! :)

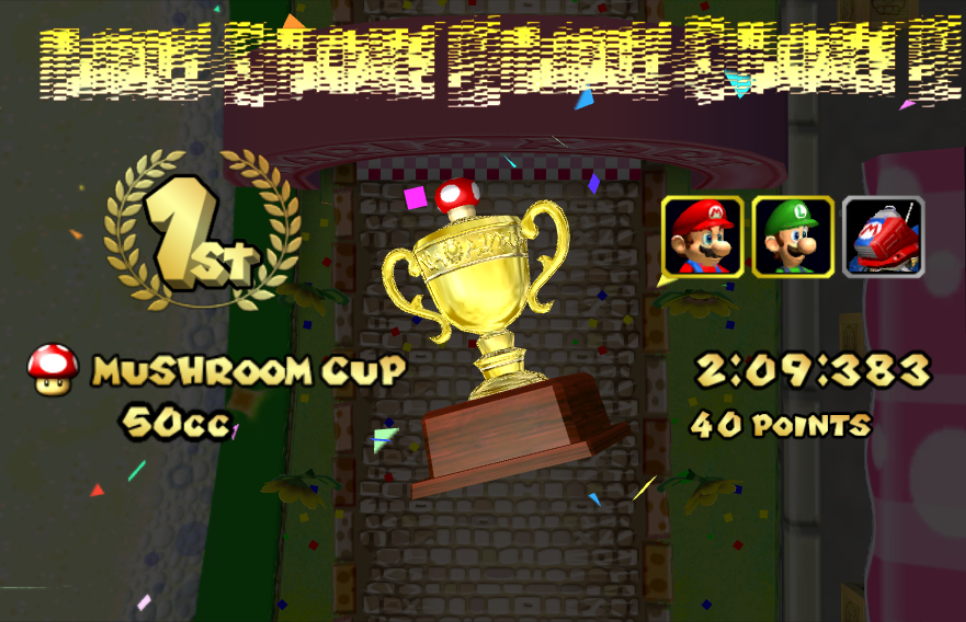
For the record, this is how it looked before I realized it was block-packed:
